Showing posts with label printing. Show all posts

Thursday, October 31, 2013

DIY potato print notebook

DIY potato print notebooks DIY potato print notebooks DIY potato print notebooks potato  printing DIY potato print notebooks DIY potato print notebooks
We have been known to use our fruits and veggies as printing materials for quite some time. Our favorite craft has been out cat print dress that we did when we first started our blog! So when we found these adorable recycled cardboard notebooks at Walmart we knew exactly what to do. We sliced up a potato and got printing!
The best part about using apples or potatoes to print is that you can seriously cut out any design that you want and for really cheap (For some reason we have an entire box full of potatoes sitting on top of our fridge). We decided to do a triangle and an asterisk design for our two notebooks. Didn't they turn out cute?
What design would you do?
-a clover & a bee
Follow on Bloglovin

Friday, July 19, 2013

Our favorite crafts recap

In an attempt to inspire our creative sides and to celebrate our blog's six month birthday (it was on July 1... oops), we have decided to review some of our favorite crafts we have done so far on a clover & a bee! 
Bleach Dipped Plaid Button Up- we got really excited about bleach for awhile there...My dorm smelled constantly of bleach. This bleach dipped plaid shirt turned out really well and we got a good laugh because people thought that I was pregnant due to some odd camera angles...
Bleach Dipped Shirt

Glitter Dipped Mason Jars- we love all things shiny and involving mason jars (usually) so making a glitter dipped mason jar seemed inevitable. We loved the ways it turned out-Our toothbrushes look so fancy in it!
Untitled
Bleach Dipped Levi Shorts-Its true, we pretty much live in our Levi shorts. Thus the need to own several pairs that look slightly different so we experimented with bleach and added a few studs. Cute right?
Untitled
Cat Print Dress-We don't own a cat and may be slightly allergic, but cats are just to cute to leave out of the crafting fun. we used an apple to print little cat heads all over one of our dresses and love the way it turned out.
Untitled
Heart Print Table Cloth- During our Valentines themed week we made our own heart print table cloth using, you guessed it, an apple! This process of printing is our new favorite.
heart print tablecloth
Embroidered Cocktail Napkins- Wiping your face is so much more fun when wiping it with cute fabric with adorable phrases hand stitched into them. Its true, this is a real testimony. This was such a simple DIY for making your table just a little cuter.
Picnic Time
Crochet Skirt- In the winter we lived in these crochet skirts! They are adorable paired with a big chunky sweater and some tights. Turns out they are also pretty simple to make (that is if you have atleast some sewing experience!)
Untitled
Here is to another six months (and then some) of crafting! Hope you guys are having fun with us!
- Leah and Erin
Follow on Bloglovin

Thursday, June 20, 2013

graphic quote poster DIY

DSC_0006

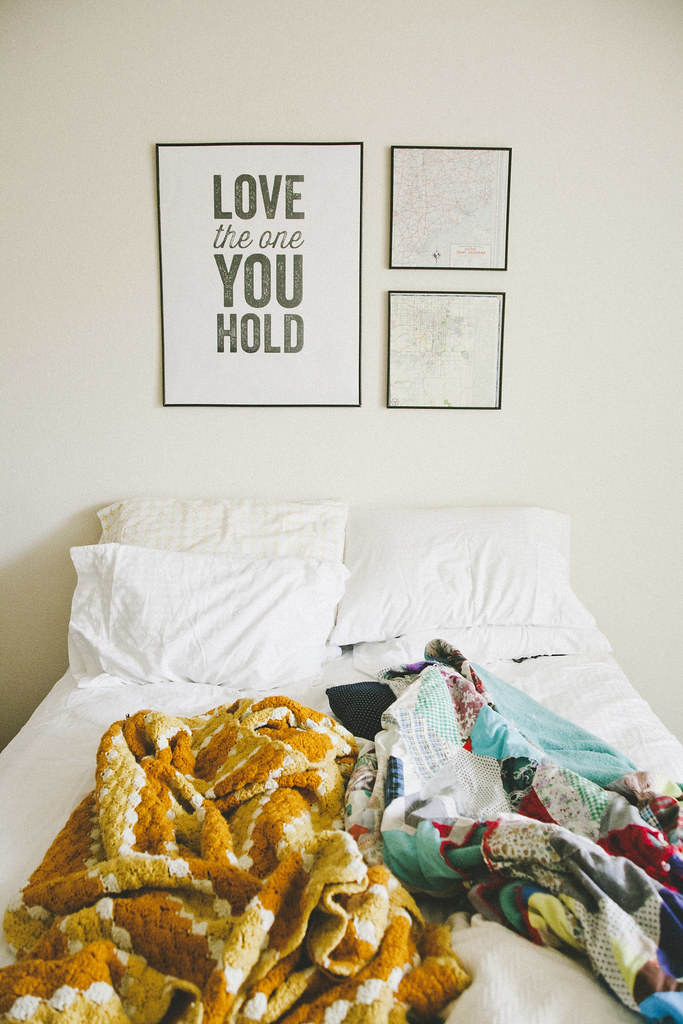
While perusing pinterest the other day (story of my life...) I spotted this adorable looking bed nook from The Secret Life of Bee and I knew I had to recreate it in my room. I loved the simplicity of the black and white words on paper, but I didn't want to directly copy it so I switched to "Good  Morning Sunshine" for a little inspiration to get up in the morning.

In order to make mine I used an old piece of matte board, some acrylic paint, and with a little support from the DIY puppy I was ready!

graphic quote poster graphic quote poster DSC_0003 DSC_0007

All I did was choose my quote-I thumbed through a ton of mumford and sons and bon iver quotes before deciding that it was a little too cliche- and write it out in pencil on your matte board. Once I had it the way I wanted it I filled it in with acrylic paint! It was seriously so easy and I love the way it turned out. What did you do to decorate your egg nook? I was thinking about adding one of these next...

- e plus l

I ordered my picture poster through Snapfish

Thursday, February 28, 2013

printed deer shirt DIY


Snow has seriously been dumping from the heavens here in Kansas which has led to some perfect, class free afternoons. This of course is the perfect weather for snuggling up indoors wrapped in blankets, sipping coffee or hot cocoa (we must be inclusive of everyone, not everyone is a coffee drinker we've heard), and getting your craft on. This week we decided to make these awesome "printed" deer shirts that were super easy.

You'll need: a deer head stencil, fabric paint (we used acrylic which should work similarly), a paint brush, and an old shirt (we would also suggest a piece of cardboard or something to slip between the two layers of shirt).

Deer Printed Shirt

First you will need to figure out your stencil. We suggest you do one of two options:

1. befriend an art major, or become one yourself, to draw you a picture of a deer. (I drew ours)
2. print a silhouette or outline of a deer off of your computer and use that instead.


Next center your stencil on your shirt and trace around it. Erin used a lighter colored paint so she traced hers in pencil so it wouldn't show through. I used a sharpie because I did mine in black and knew it wouldn't show.

Once you have your stencil traced you can begin painting! Make sure to go very slowly and do it as neatly as possible.

Deer Printed Shirt
Deer Printed Shirt

Once it is completely dry you can style it however you want! I styled mine with a crochet skirt, some black tights, and a pair of oxfords. Erin wore hers with a grey a-line skirt and crochet tights. They can seriously be worn with anything! I wore mine around with leggings and slippers the day after... Sometimes when it is cold and snowy I feel less inclined to change clothes...oops.

Deer Printed Shirt


-(e plus) l.

as always we would love to see your version of our DIY! We love to know that people are doing our crafts or hair tutorials. It makes it way more fun to do what we do. (twitter/ facebook)

<<Leah>> DIY sweater originally from Target// Crochet Skirt from Rue 21 (no longer available--learn how to make one here!// tights from Urban Outfitters// Oxfords thrifted originally from Steve Madden (no longer available- similar).
<<Erin>> 

Thursday, February 7, 2013

DIY heart print fabric (table cloth, tapestry, photo backdrop, etc)


We weren't quite sure what to call this craft of ours because it can have so many fun uses, so I suppose heart print fabric will have to do the trick. Our original intention was for it to be a cute table cloth for your "at home Valentines day date", but it could also work for so many other things, such as a tapestry, a photo back drop, fabric to make clothing out of, and so on! Here is how to make it:

You'll need: An old bed sheet (or other fabric), an apple, red fabric paint, a paper plate, a knife, an iron & ironing board and something to protect your work surface. 

028

I started by preparing my old bedsheet. My queen size bedsheet was a little to large to be an actual table cloth, unless of course you'd like to not be able to find your table under the mass of fabric, so I cut it in half. Of course if you are just using fabric, you could skip this step. I then folded the cut edge in a half inch and another half inch, ironed and sewed it to create a new hem.

036

Once my fabric was ready, I took my apple and cut off a third of it from one side and carved a heart into the larger piece (you may eat the other chunk). This apple becomes your stamp for making your heart print.

034

Now that your stamp and your fabric are ready you can start printing! I laid out my fabric on some old cardboard (painted on dorm room carpet=fines) underneath my fabric and began printing! Squirt a little of your fabric paint onto your plate at a time and dip your stamp into it. I did one tester heart on a spare piece of cardboard to make sure my print would look good before I began printing.

037 045

You then can make them however close or far apart you'd like on your fabric. I chose to do them about a foot apart in staggering rows.

039 046 057

Once it is dry you can use it however you like! We plan on using ours for a cute valentines activity next week! Stay tuned!

heart print tablecloth

Once again, we'd love to know if you are trying our DIY's! Feel free to message us if you are having trouble or send us pictures of your finished projects! You can leave a link in a comment, tag us on facebook (@eplusl), or mention us in a tweet on twitter (@epluslblog)!

-l.