

Doilies are one of my new favorite things. You can seriously add them to anything and make them completely adorable. There was a sad period of time when I couldn't find any in town for a reasonable price. Then one day the thrift store smiled upon me and I found several for only a quarter each. I hope the same happens to you.
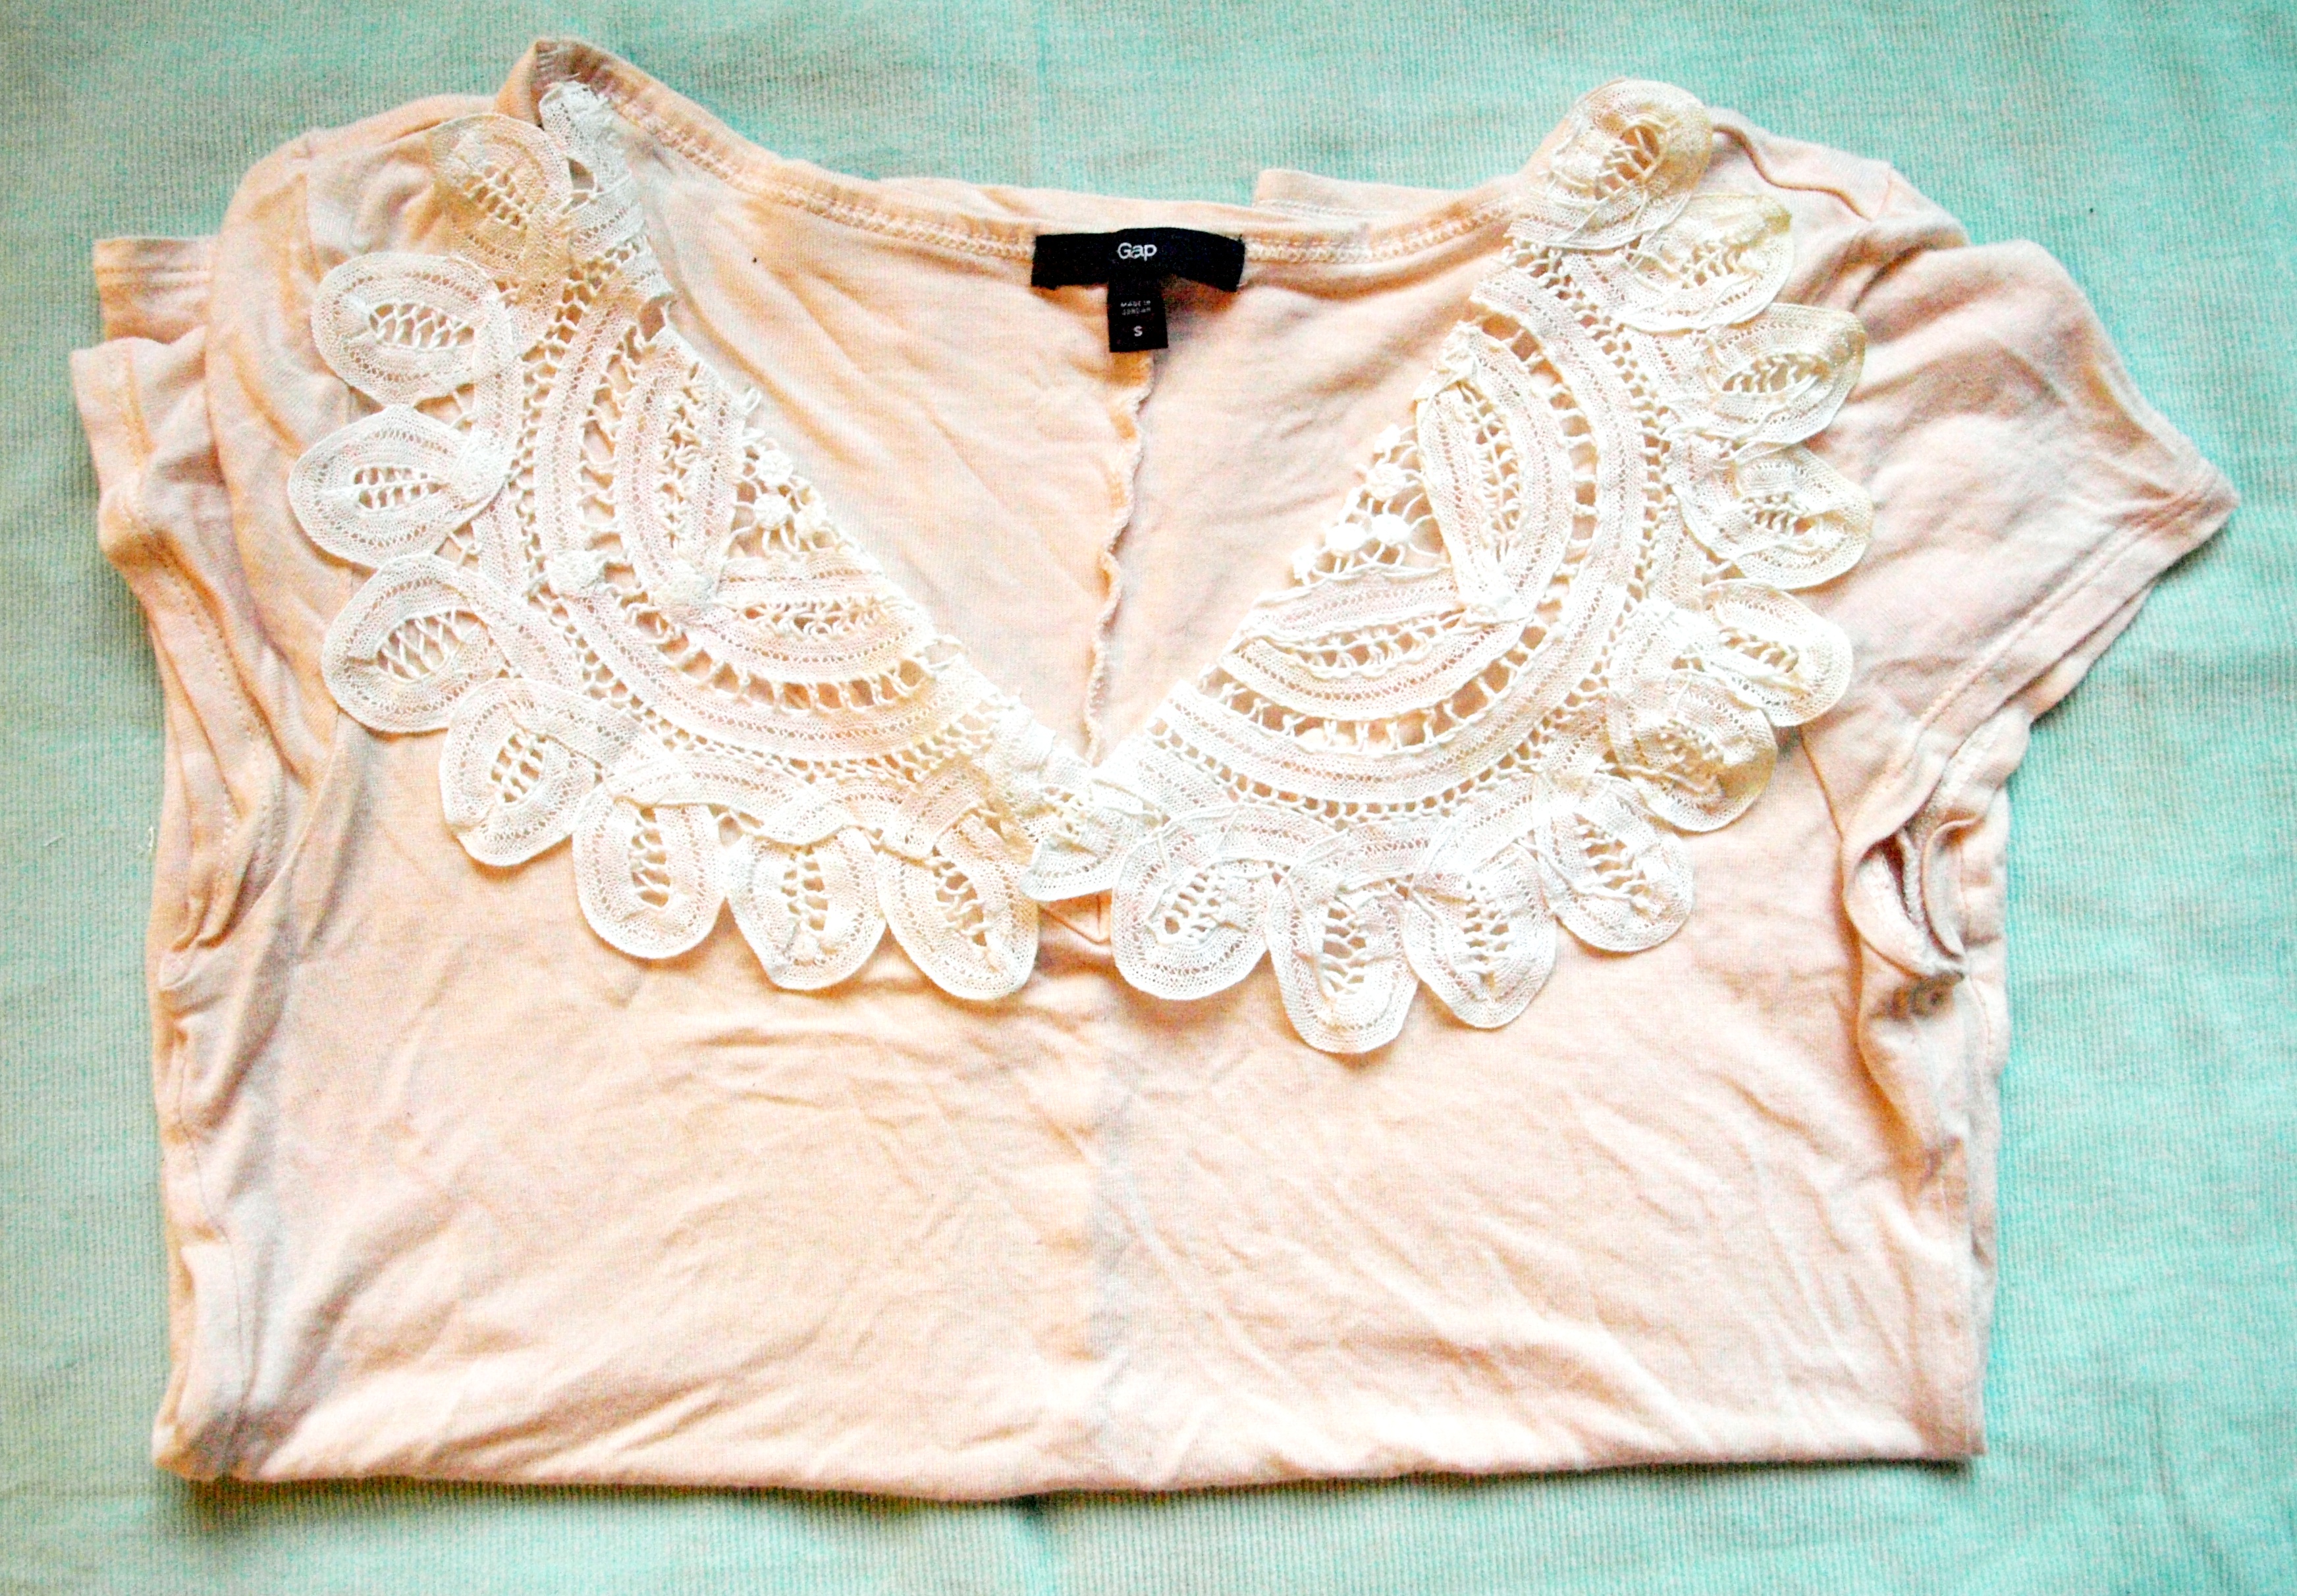
You will need: a shirt of your choice, one doily, thread, a sewing machine (or needle), and scissors.
You will first need to cut your doily into two equal pieces. These pieces will be placed on either side of the collar of the shirt to create a peter pan-like collar on your shirt.

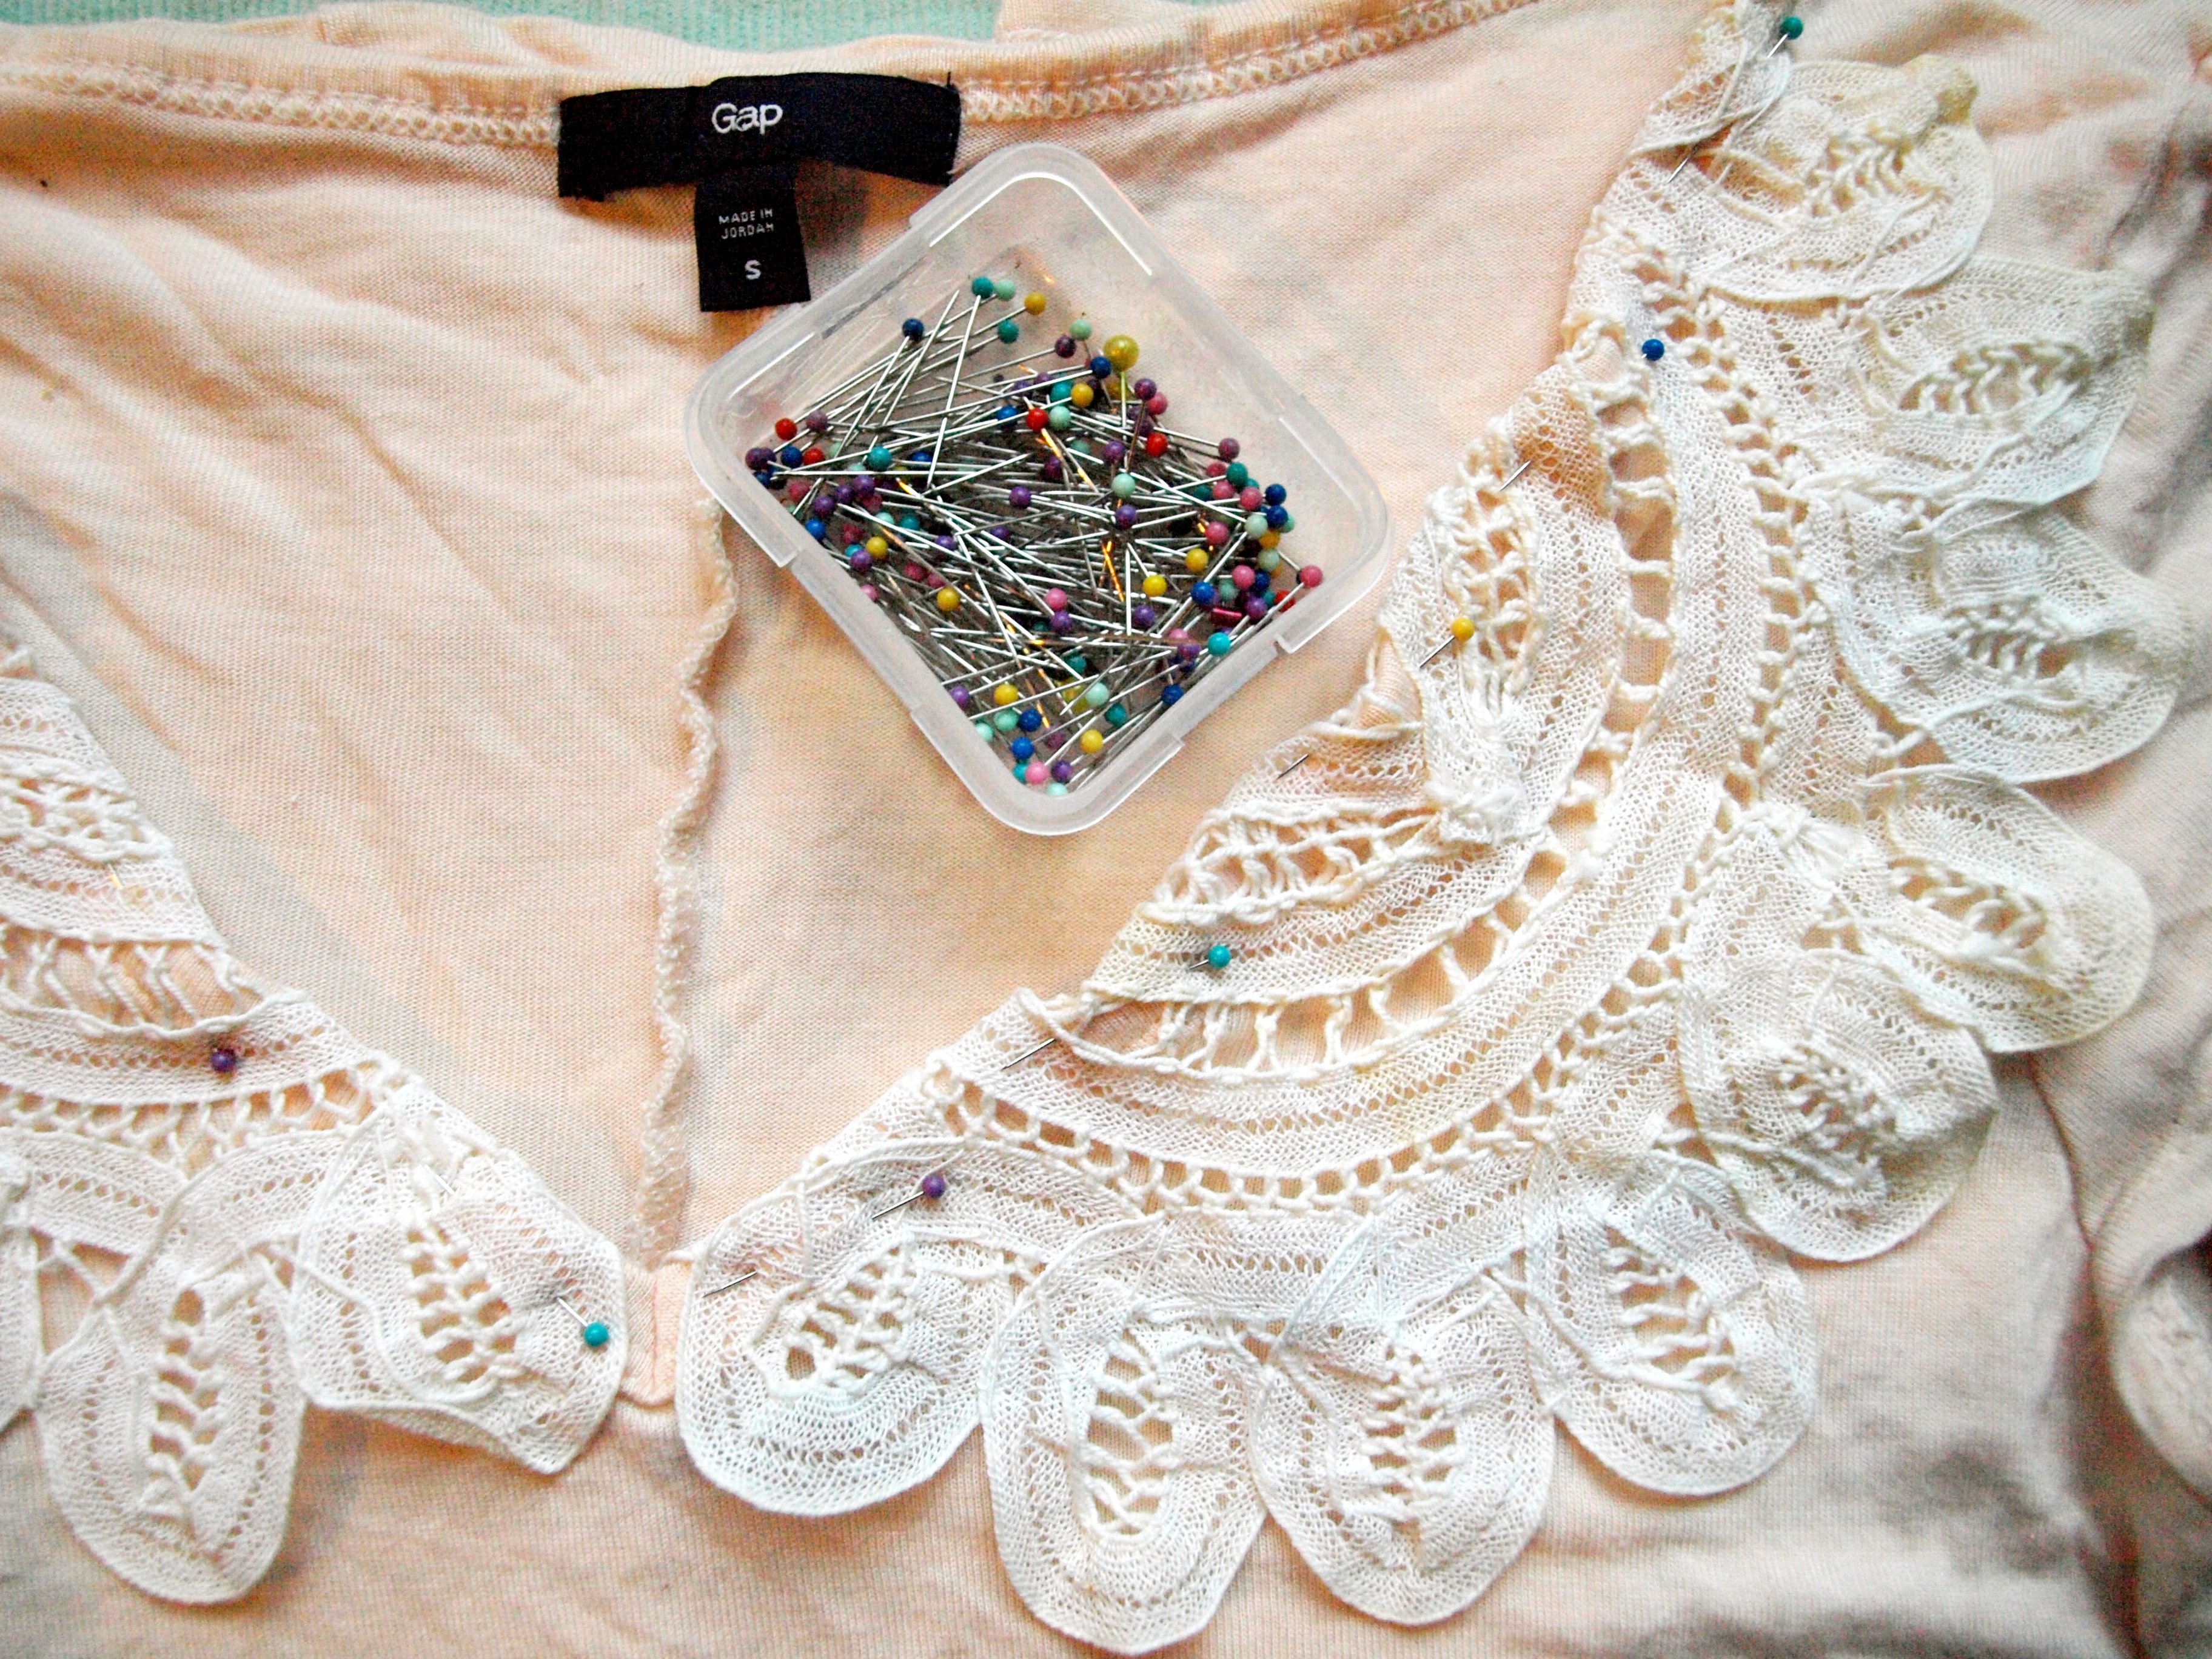
Next you will need to lay your t-shirt flat on your work surface. I found my t-shirt at a thrift store because I didn't have any that I was ready to alter, you may have a stash of unworn t-shirts you could use. Note to self though, these shirts from the gap are super soft! Then take the two pieces of your doily and lay them on the collar of your shirt. If it is a scoop neck you will need to measure to find the center. Luckily mine was a v-neck so this was already marked for me. Your doilies should over lap the collar by about 1/2 inch. You will then fold this half inch down inside of the shirt and pin. Pinning order should be doily on top, shirt in the middle, doily on the bottom.
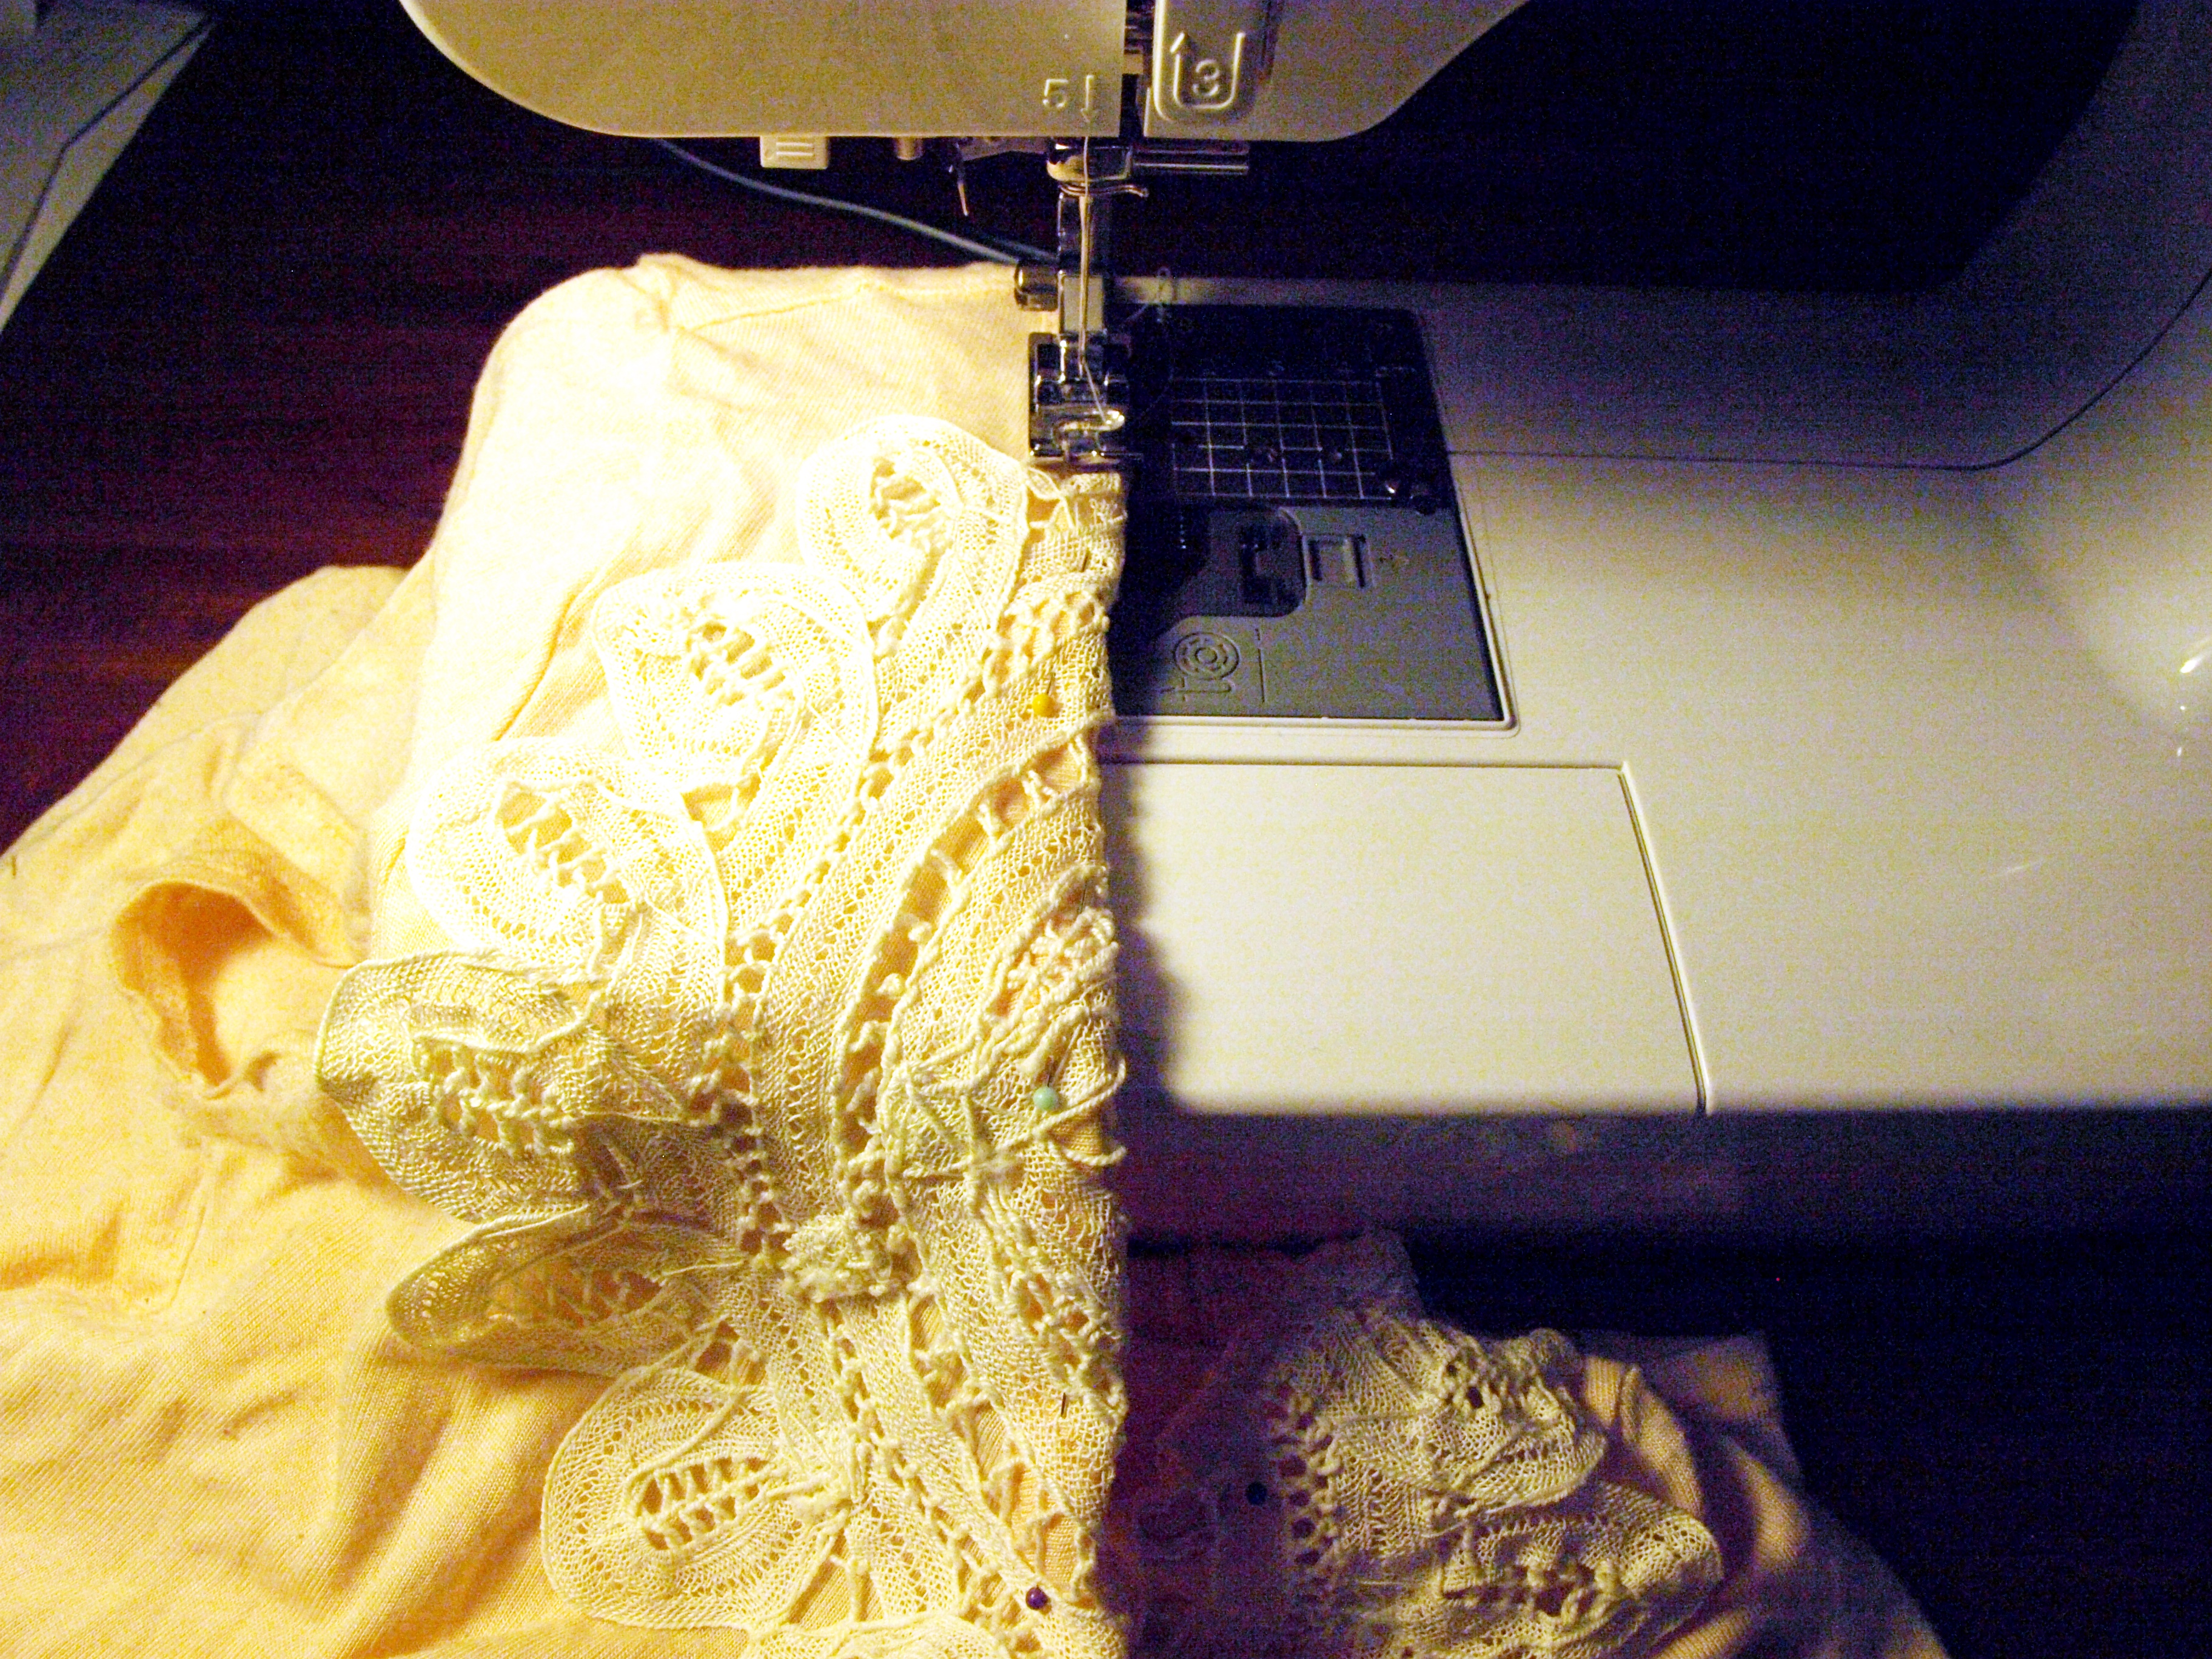
After you have it all pinned you will then need to sew the layers together. You can pick your sewing mechanism of choice, needle and thread or sewing machine. Either would work for this project, though if you have a sewing machine it is way easier.
Once it is all sewn together you are done! Wear it and enjoy! -l.


0 comments:
Post a Comment